In order to understand how I wanted the models to interact with the AR camera, I had to experiment on how that would be made possible.
In order to understand how I wanted the models to interact with the AR camera, I had to experiment with cubes.
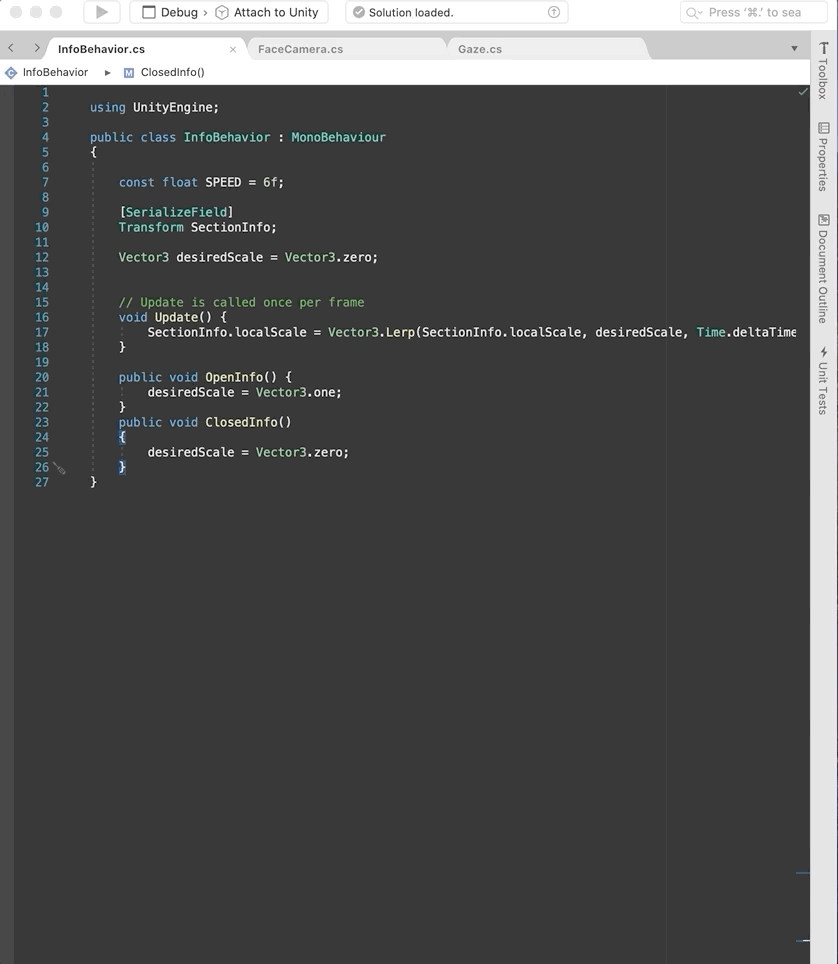
After learning some C# coding skills and help from online resources from developers, I wrote 3 C# scripts.
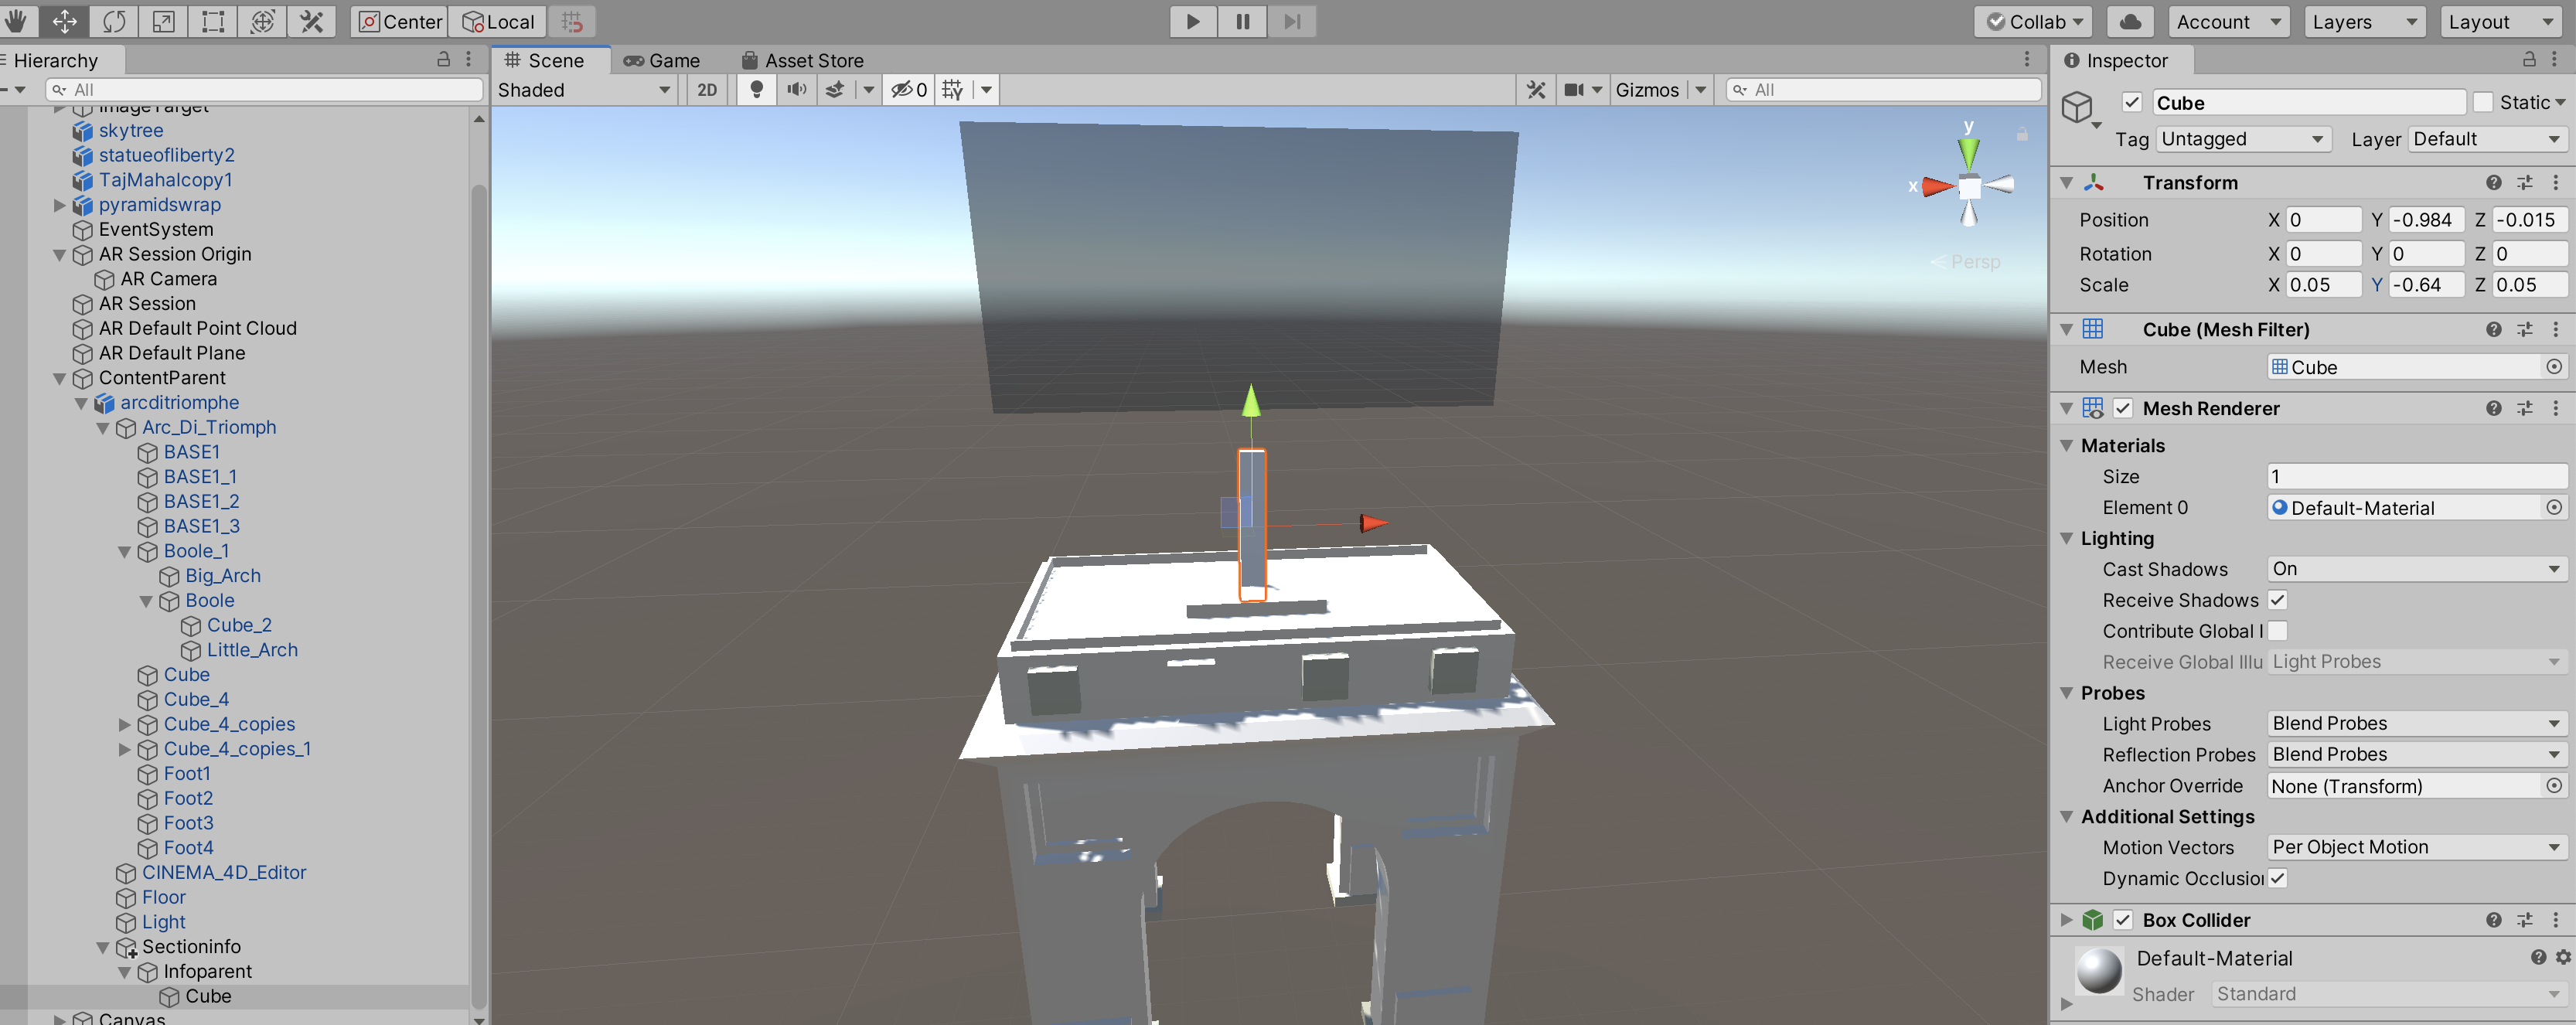
InfoBehavoir: The Infobehavoir script, ties its self with the obejct, in this case the cube has a box collider where will interact with the "Gaze" script.
From here, the code "Open info" and "Close info" will run whenever the AR camera faces the cube, due to the Gaze script being the main sript for the AR camera.
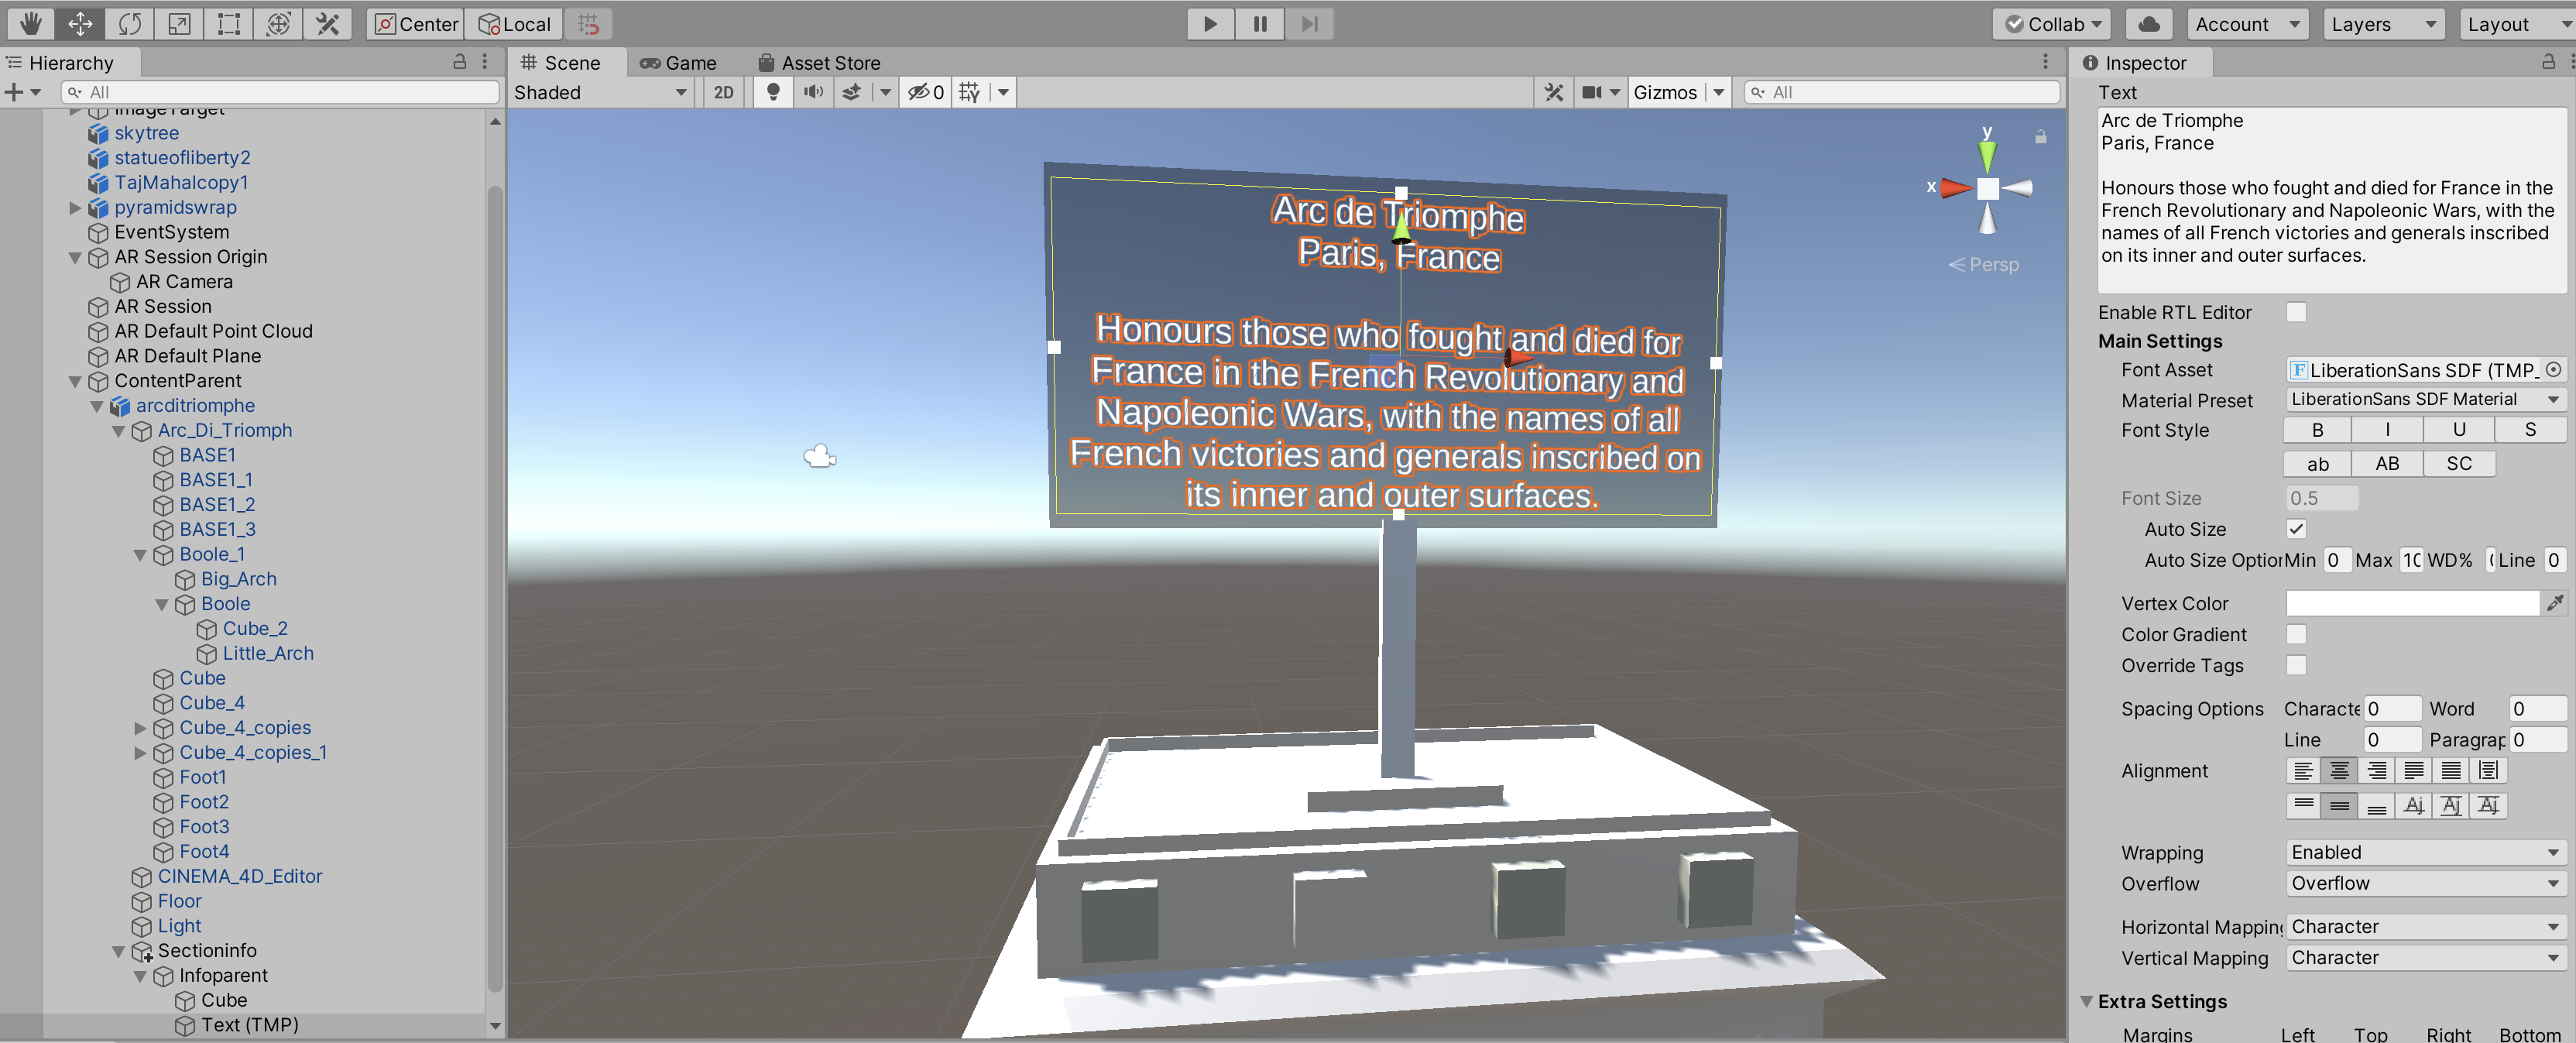
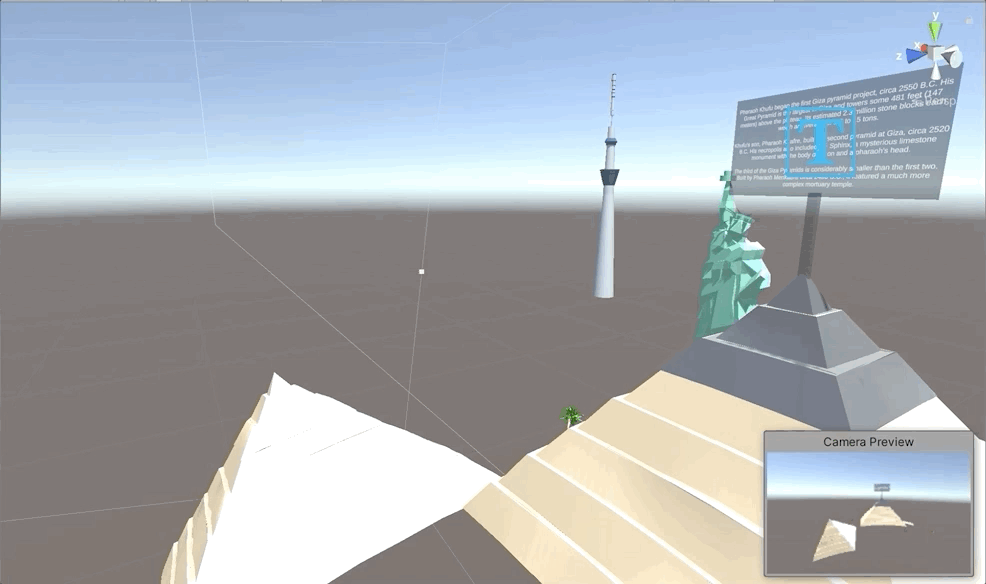
Facecamera: The facecamera script enables the sign post infomation to move to look at the main AR camera, wherever it it positioned in world on the Y axis.
Gaze: The gaze script enables the rayacsting to occur, whenever the forward vector of the camera (blue arrow in the editor) hits the cube.
The infobehavoir script then links with the Gaze script, allowing the infobehavoir to open and close whenever the camera faces or does not face the cube.
All three of the scripts enable the camera, the object and the information to all harmoniously work in unison.
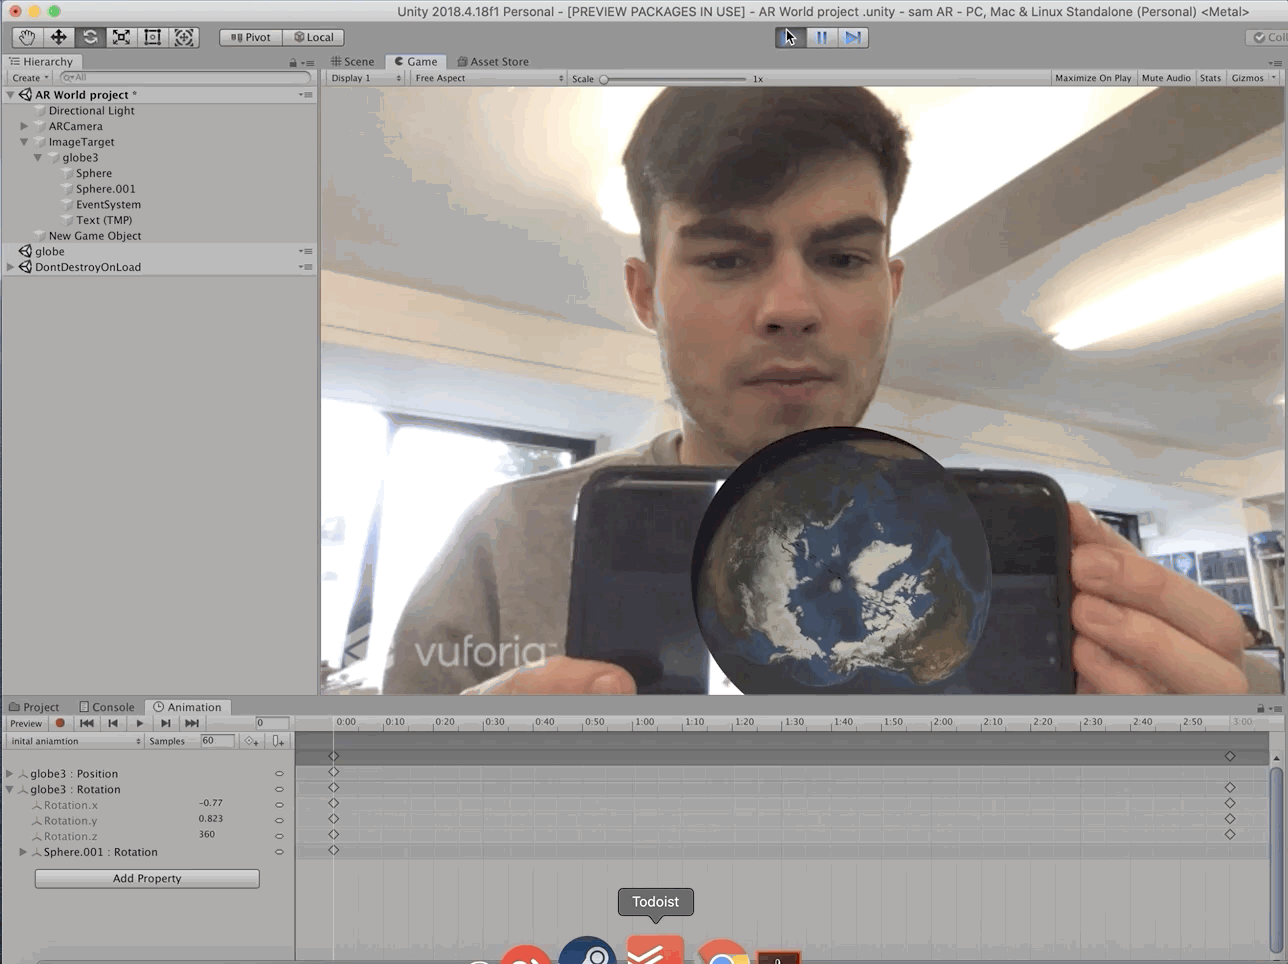
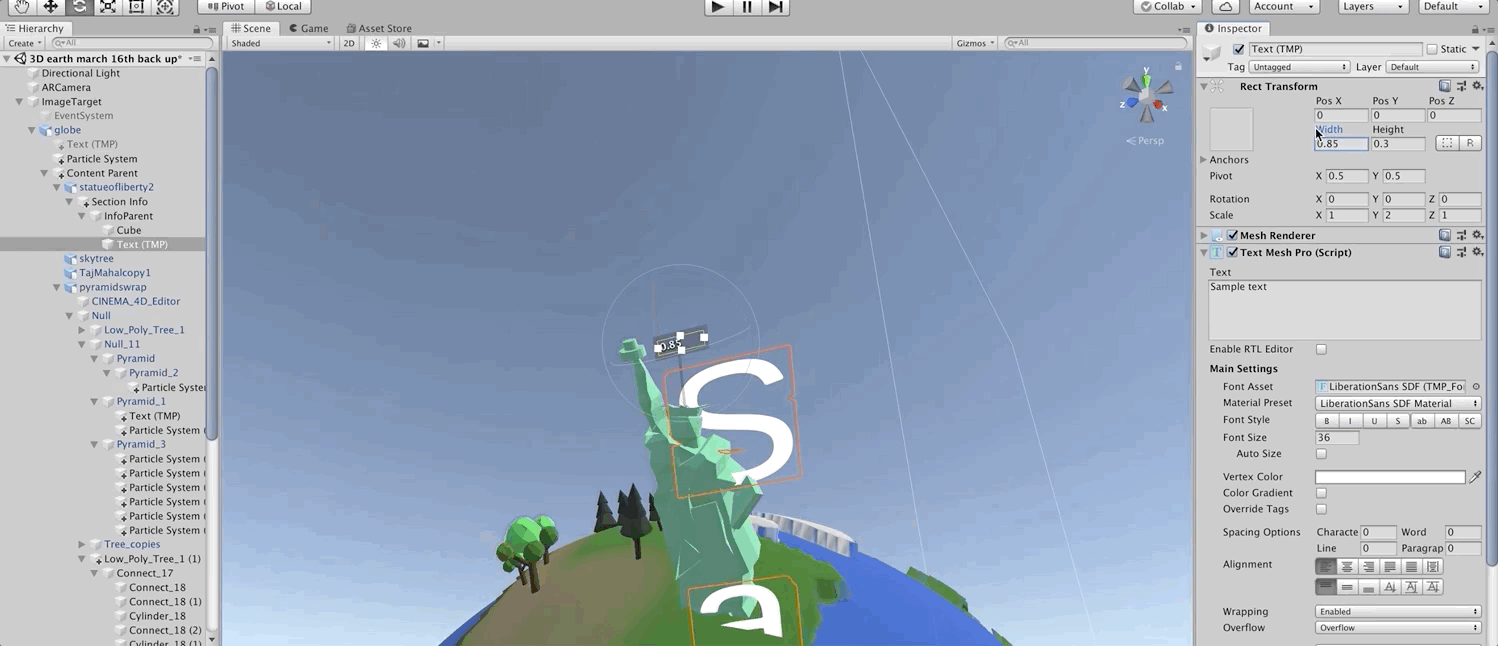
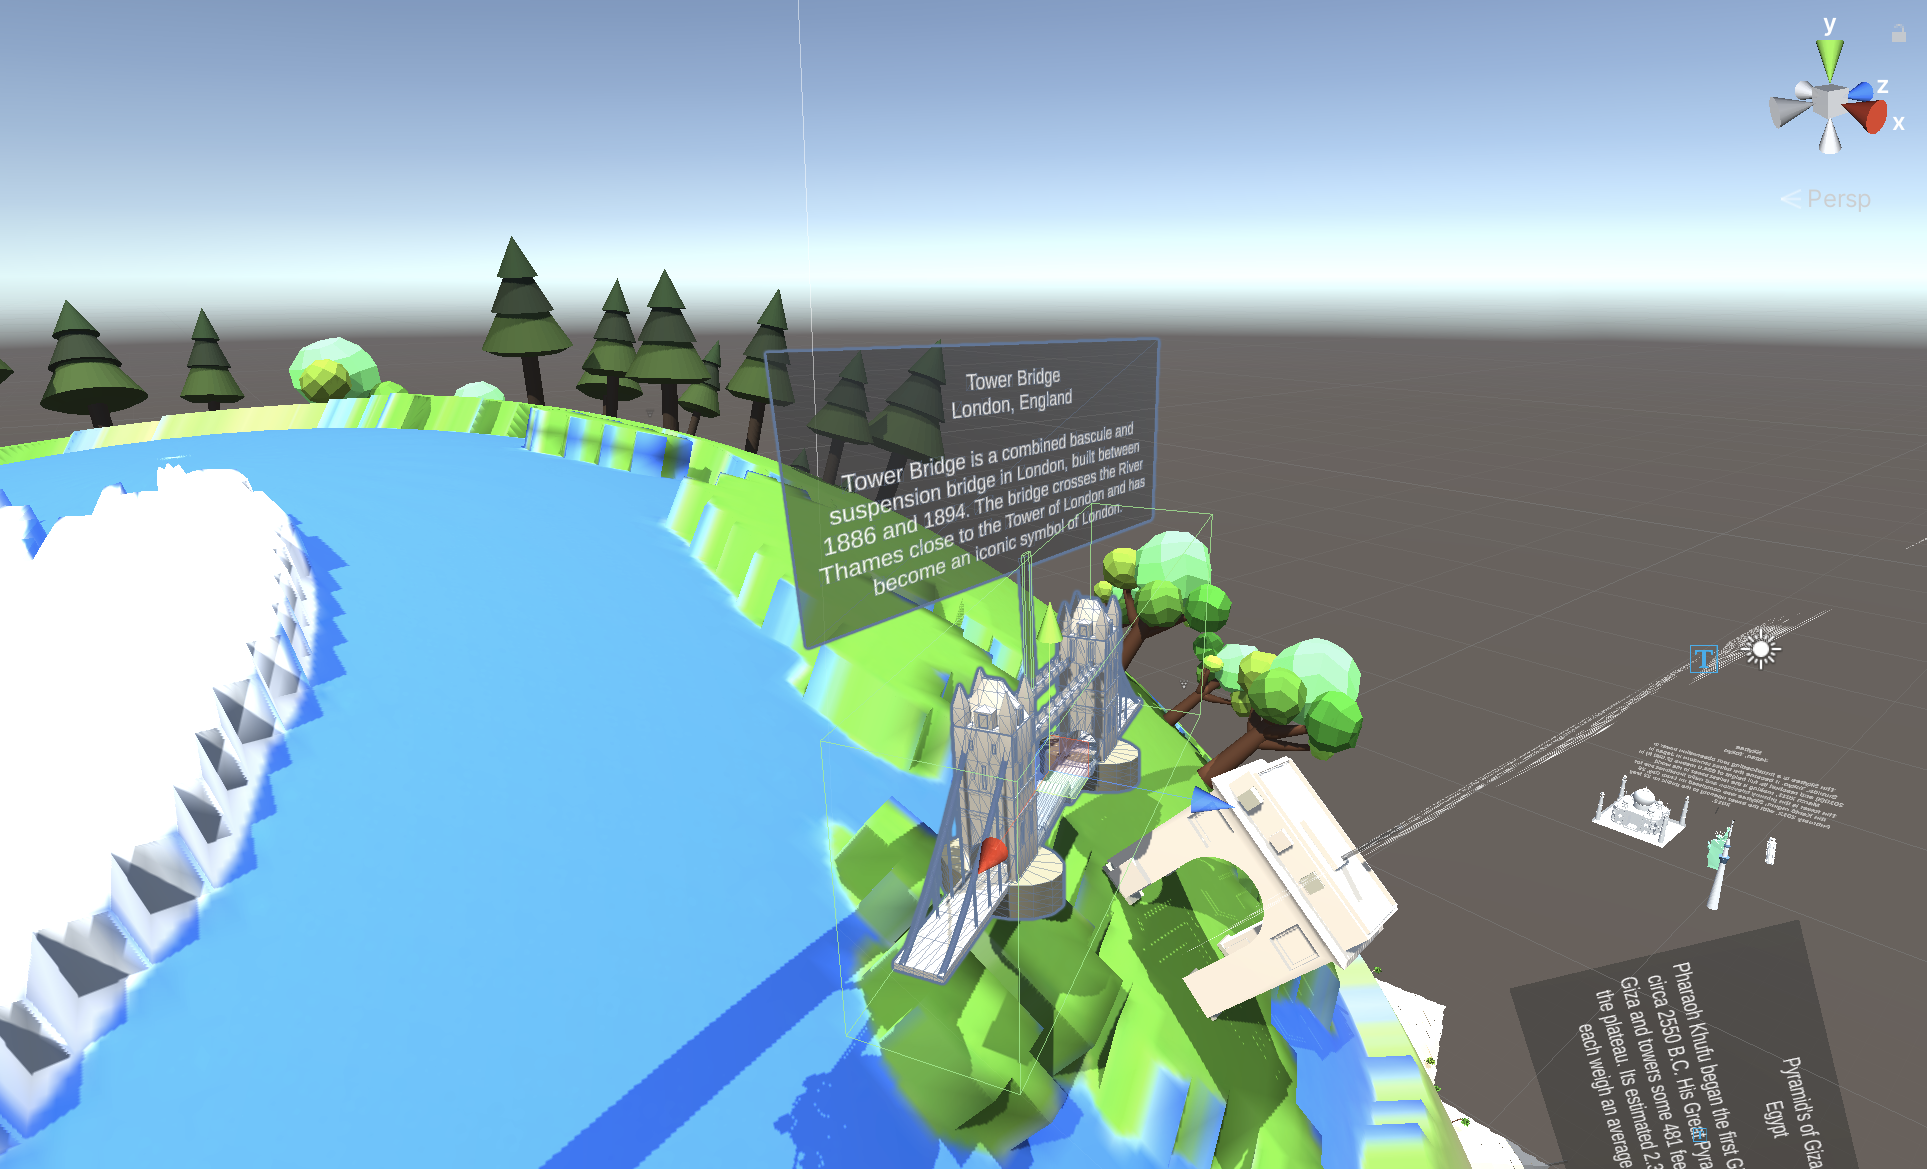
This gave me an insight on how i could utilize the image target to augment the 3D globe.
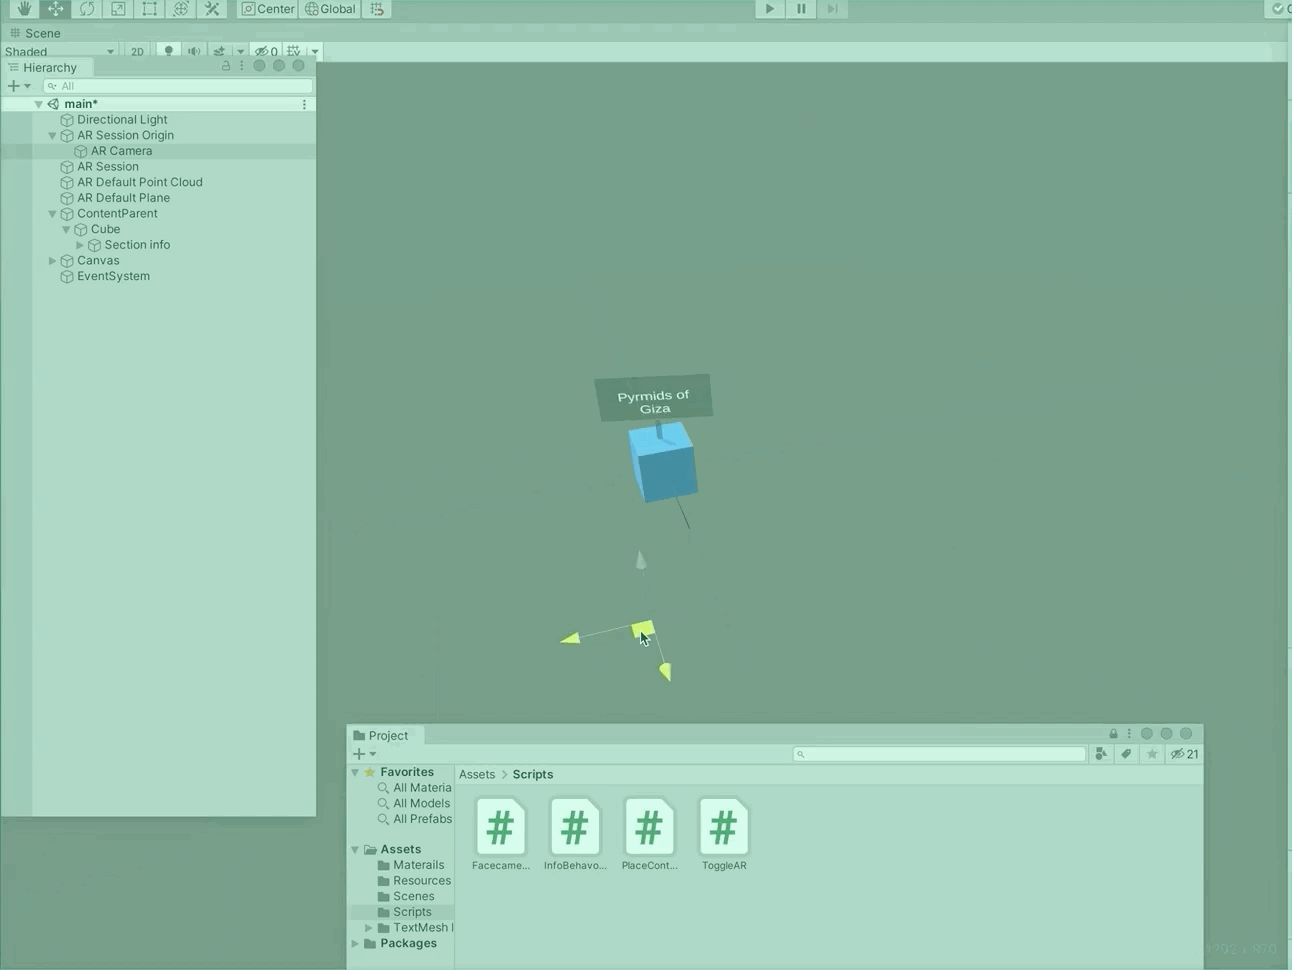
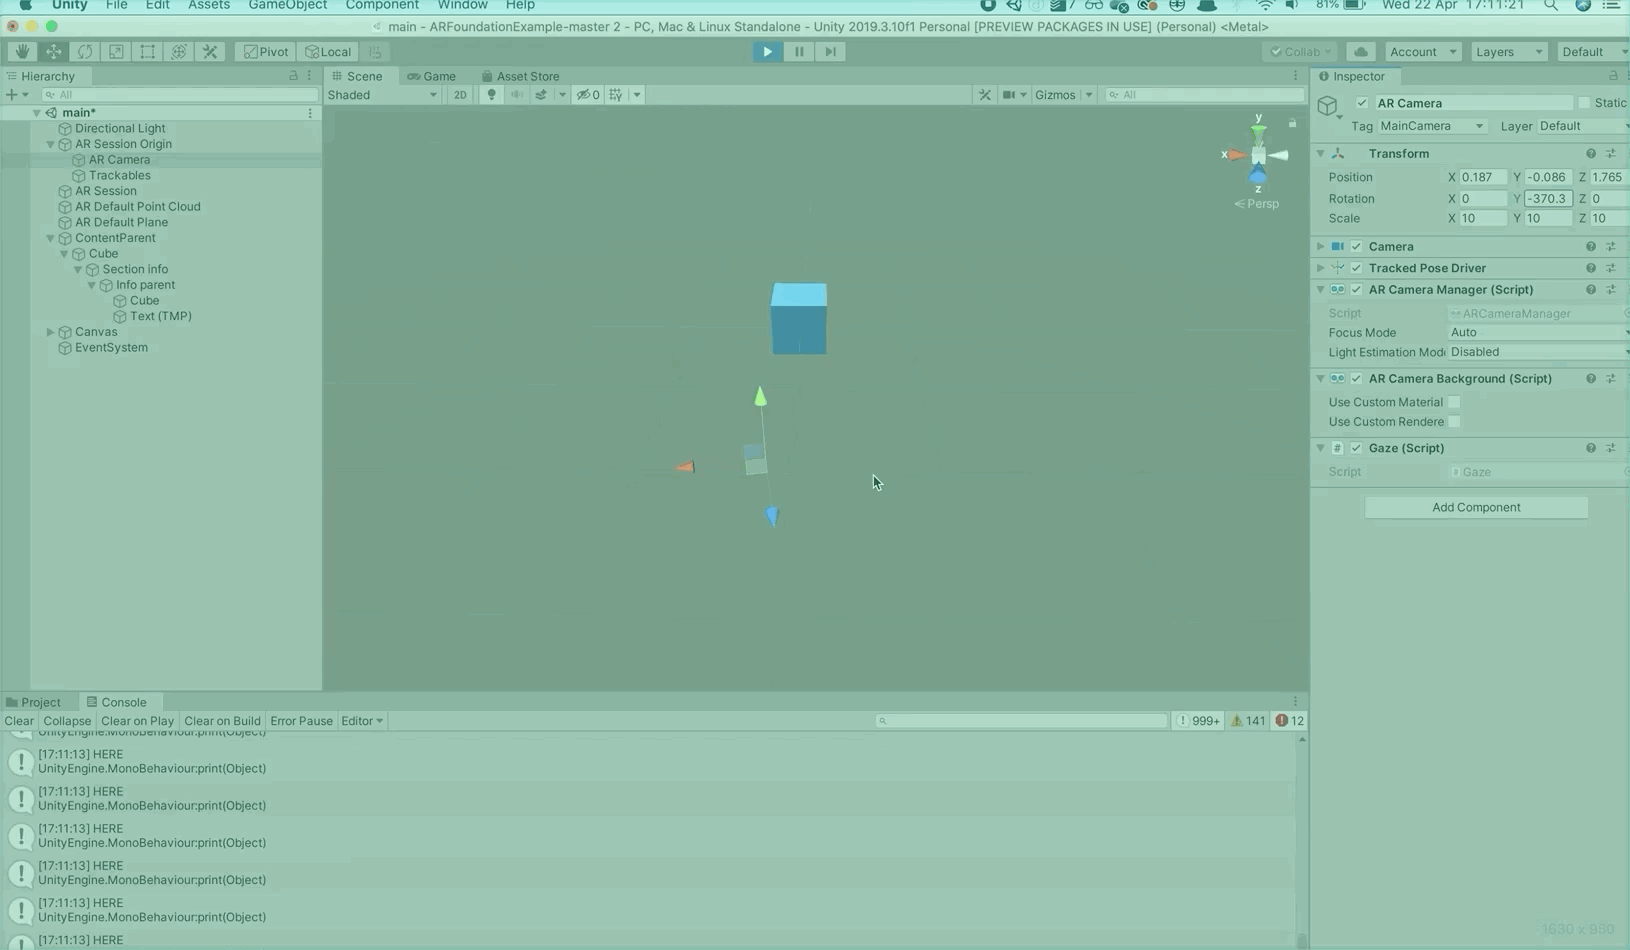
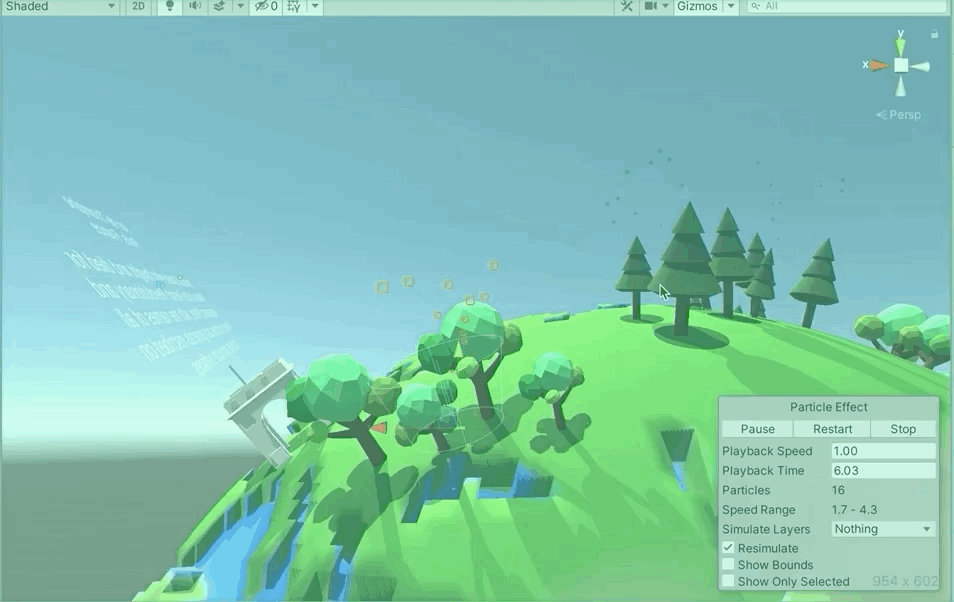
On the right is a demonstration of how the ‘infobehavoiur’ and ‘facecamera’ script work, with the cube and the AR camera works together.
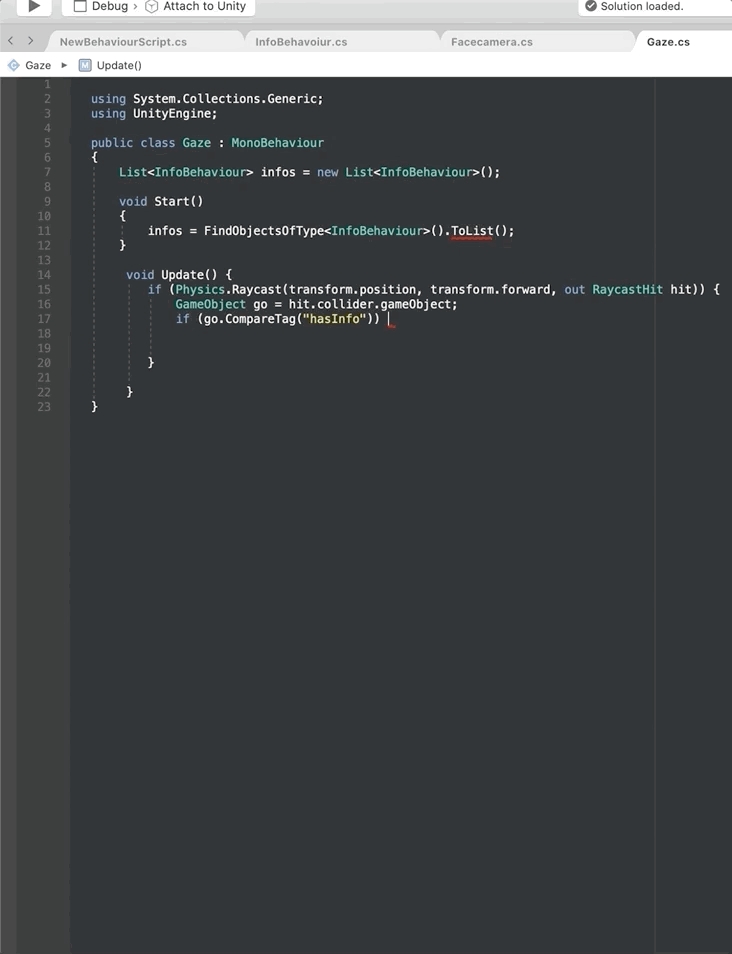
As you can see the ‘hasinfo’ is written into the Gaze script (on the far left) for the AR camera, which makes it link with the asset.
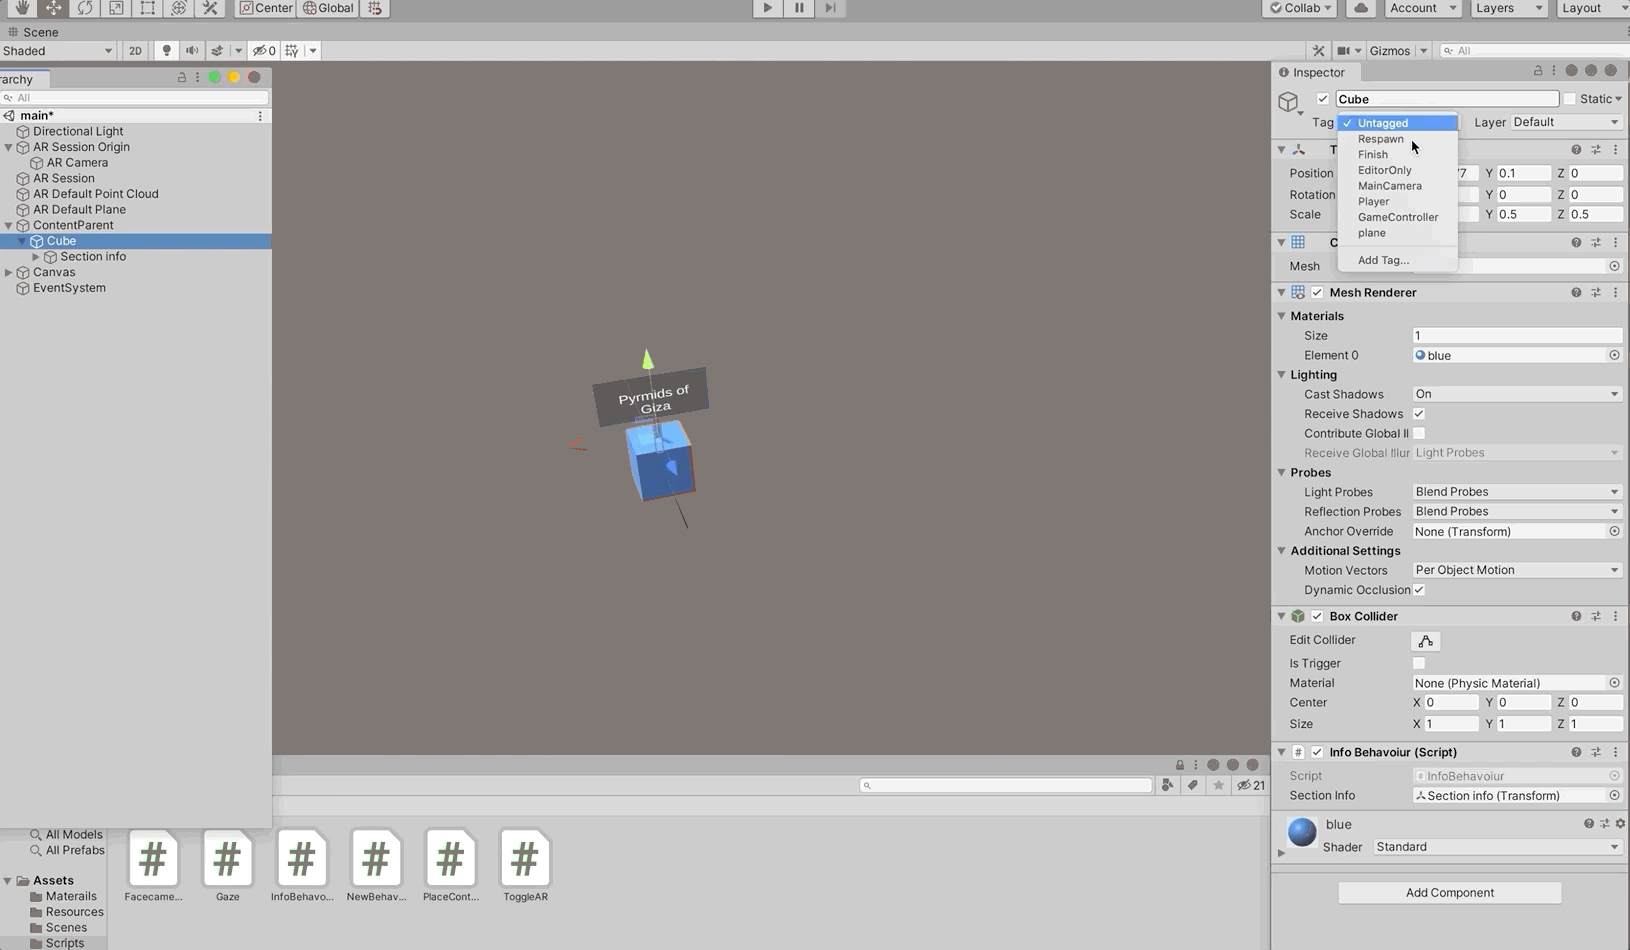
Afterwards I tagged the cube to have the value ‘hasinfo’, enabling the camera to trigger the data (information about the asset) to emerge.
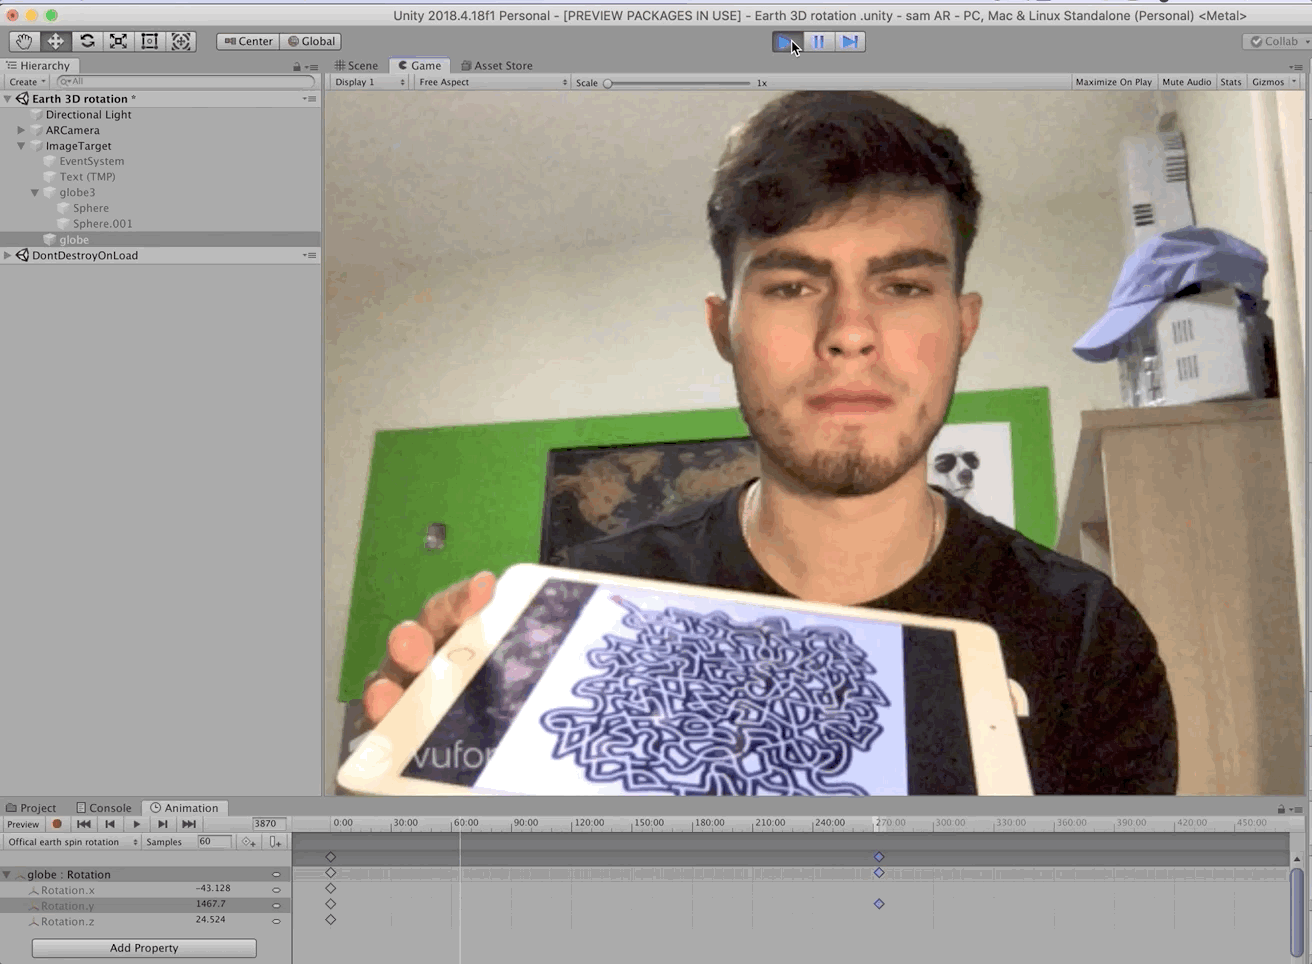
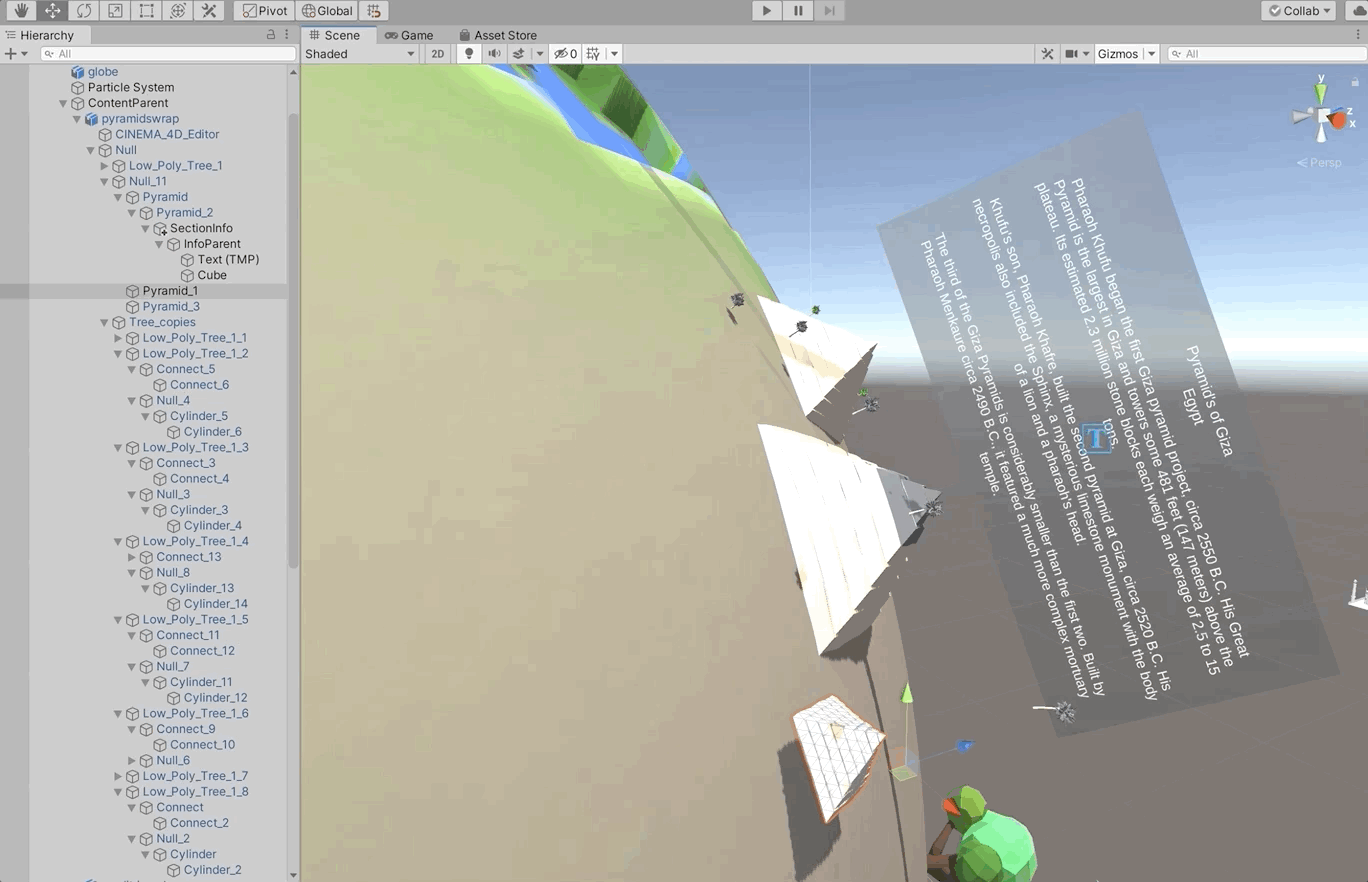
Below is the complete version of the cube, with the ‘Here’ being displayed below whenever the Y rotational axis looks towards the face of the cube.
This shows that the ‘Gaze’ script that identifies the object, is in full functioning order and can therefore be complete for the final step.
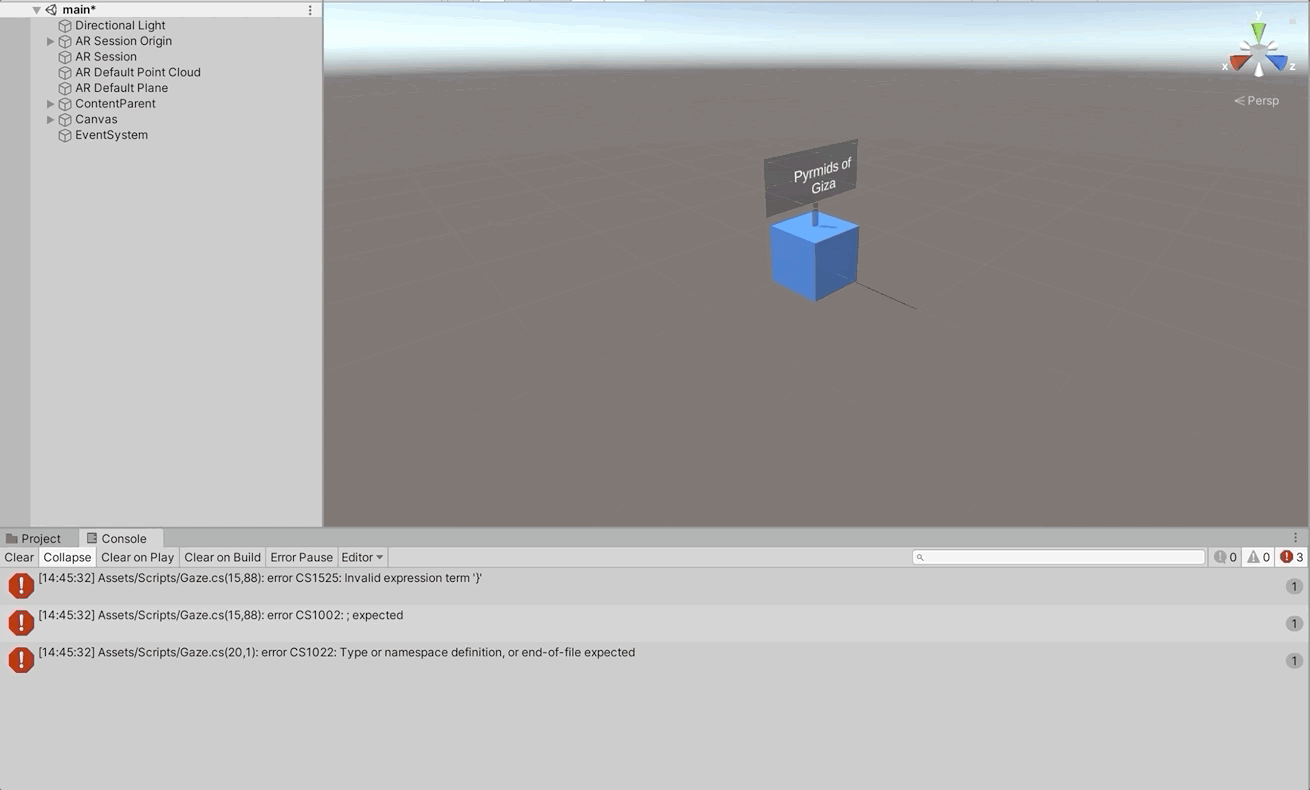
Throughout the coding of the scripts, I often ran into many issues with the C sharp coding which I coded using Visual Studio.
This required me to analyse in the C sharp code what I could have possibly done wrong, so therefore I had to amend any potential bugs. The console would notify me if there were any major errors, by producing a large red ! Symbol.
Often the majority of the bugs would be simple fixes, such as the closing brackets not aliging with the prevoius open bracket above it, which would be not complete the line of code.
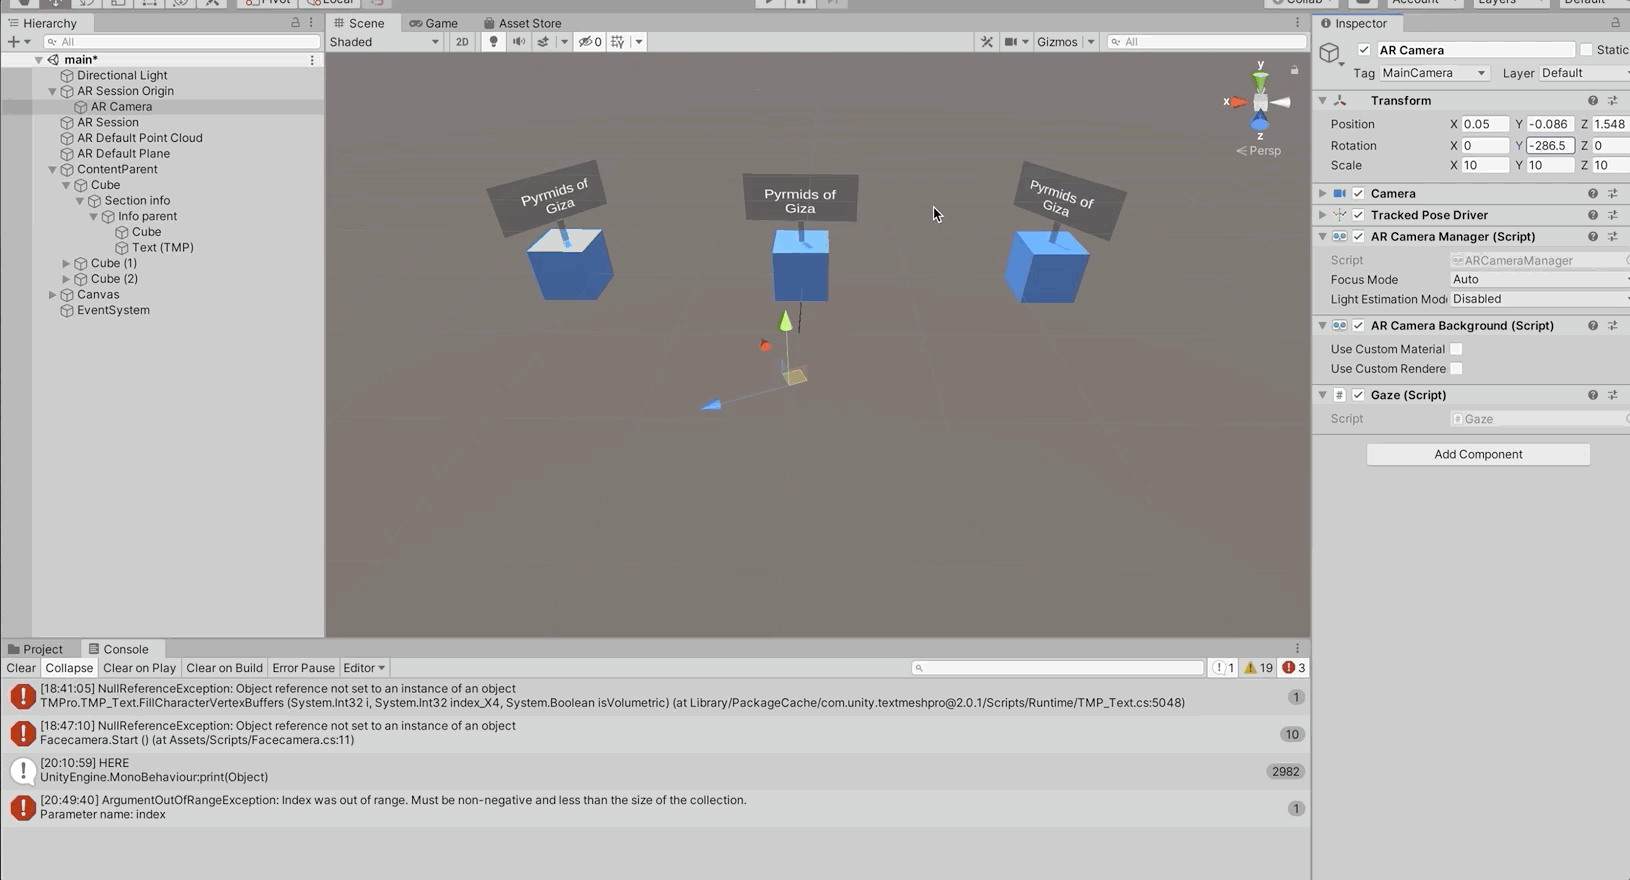
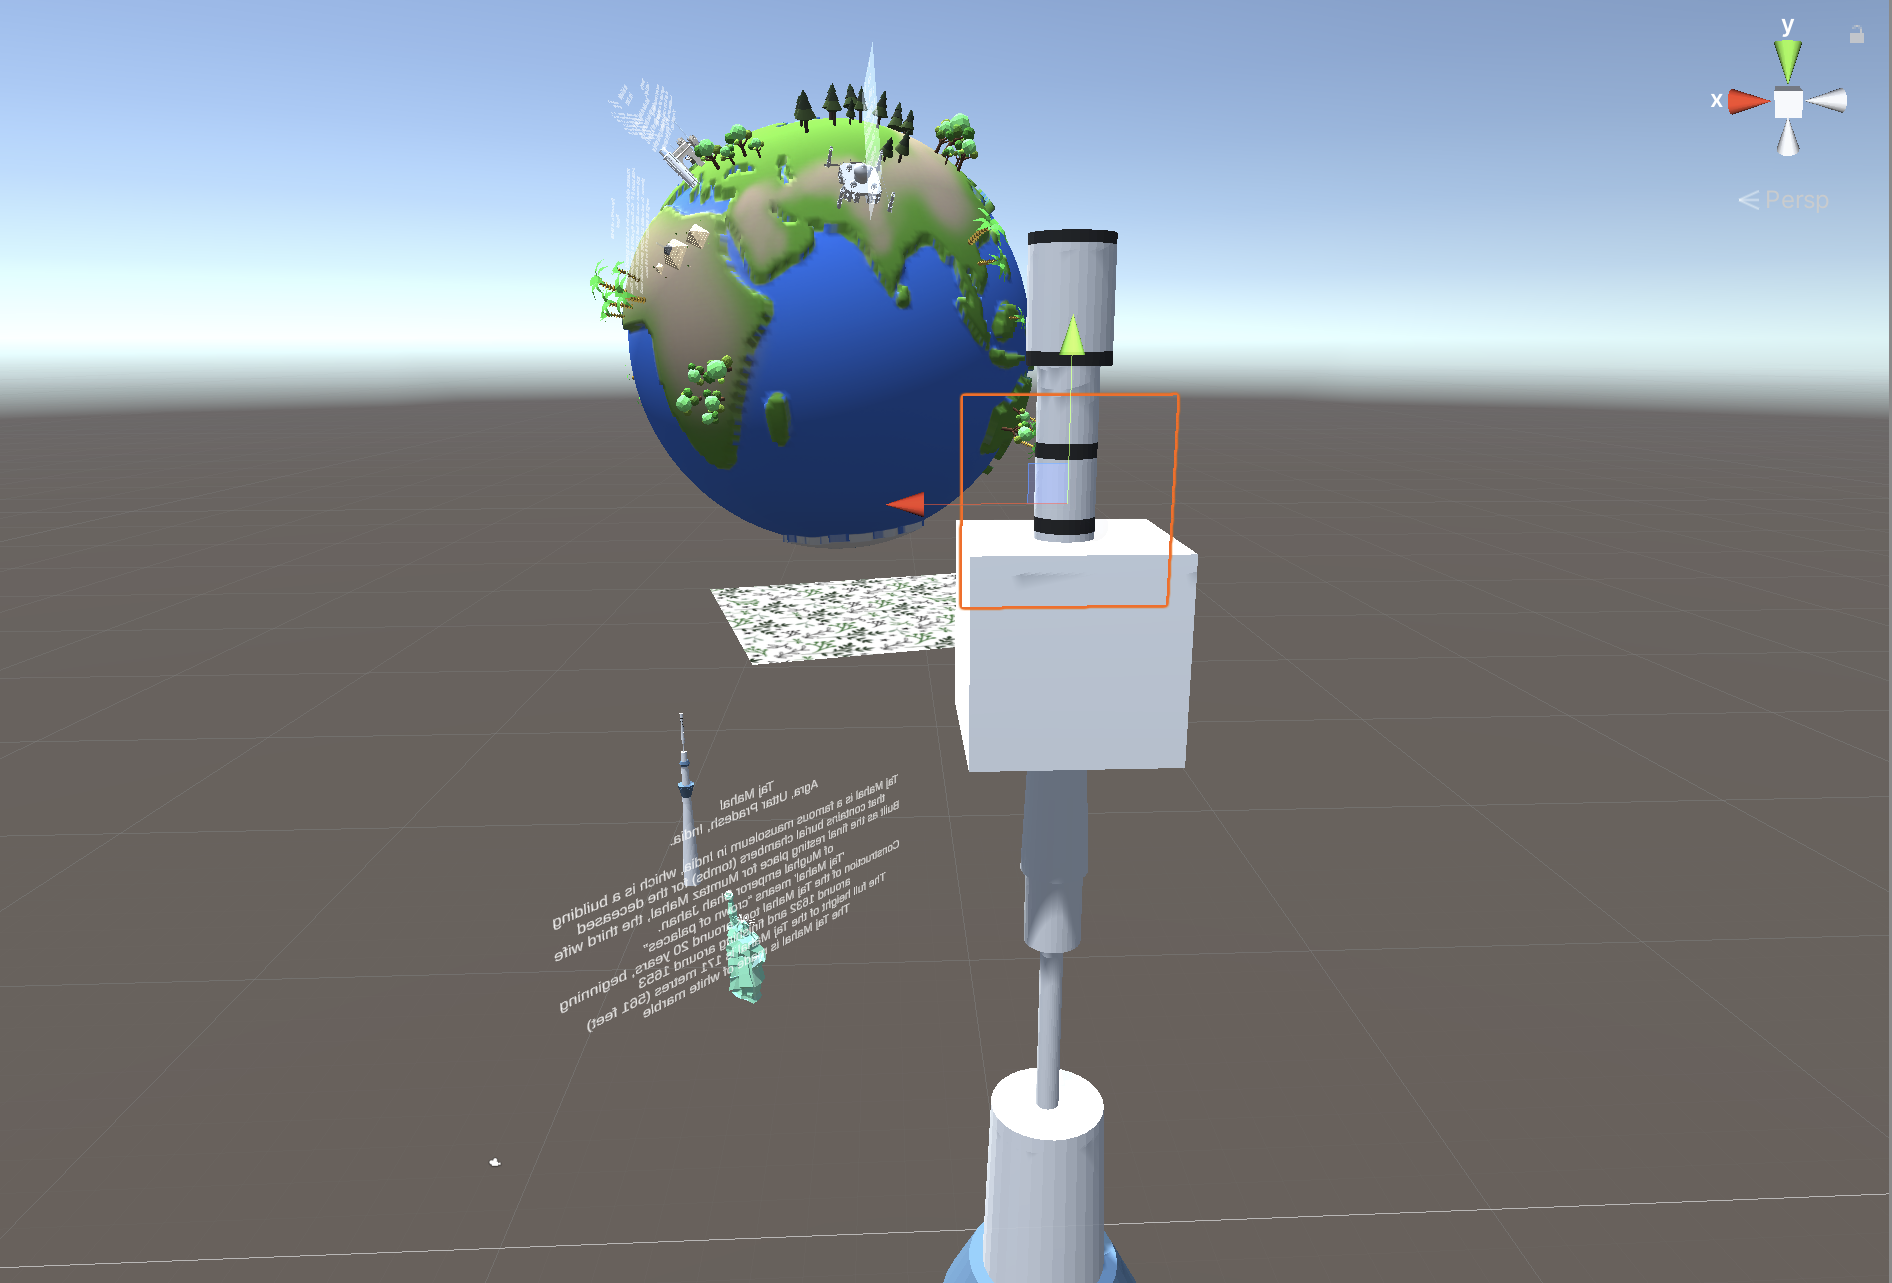
In this clip, the three cubes were not displaying the information above despite all of the appropriate scripts attached. After a while of debugigng, I realised I had made an error with accidentally removing the box collider on the cubes.
This therefore did not trigger the infobehavoir to react with the collider, which then did not link to the Gaze script.
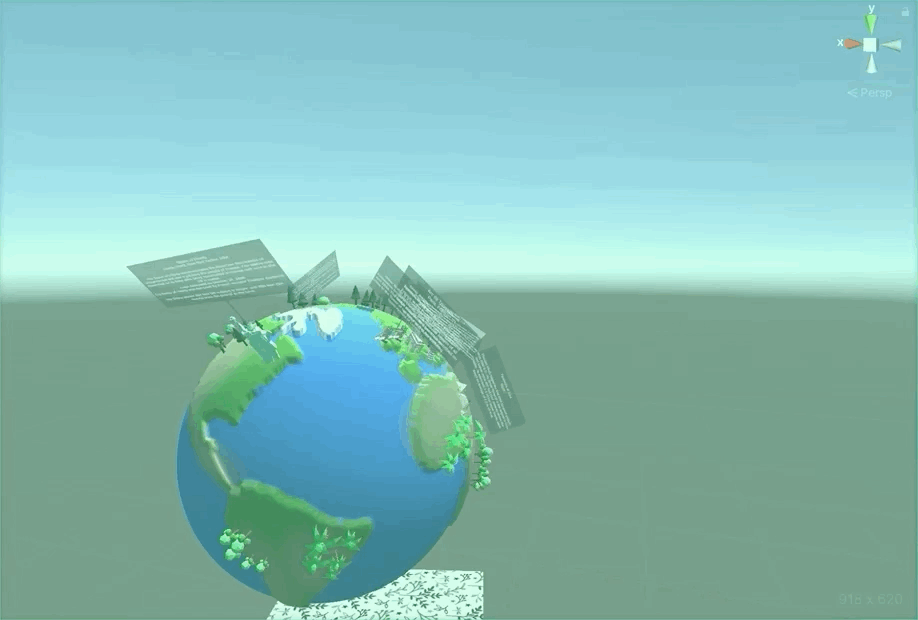
This is the final version of the 3 cubes working with the gaze script in the AR camera fully functioning.