Being the developer on my team, I began looking into how I could make the breathalyzer wristband into an actual fully functioning piece of kit in the real world.
I therefore did some research into Arduino is and how they function. I found out that they are just integrated circuits making them micro PC is built on a circuit board which allows for the Arduino software to be downloaded onto the circuit board.
The intial construction
I began by doing research into the parts that I would need to begin the construction of the breathalyser wrsitband, such as; arduino, wires, resistors, breadboard and the alcohol sensor.
The Next step was being able to locate a type of alcohol sensor that would be able to connect to a Arduino as well as the Arduino open source software for the readings to go ahead.
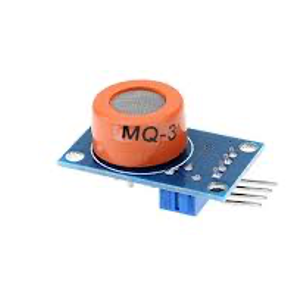
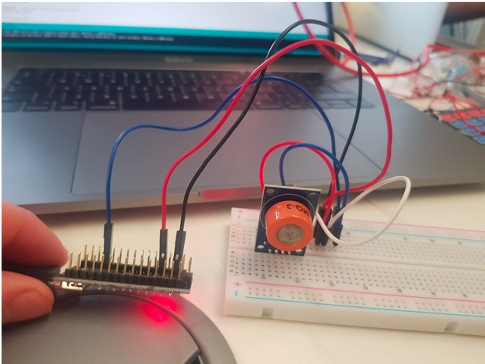
Therefore I decided to use an ANGEEK MQ-3 MQ3 alcohol sensor.
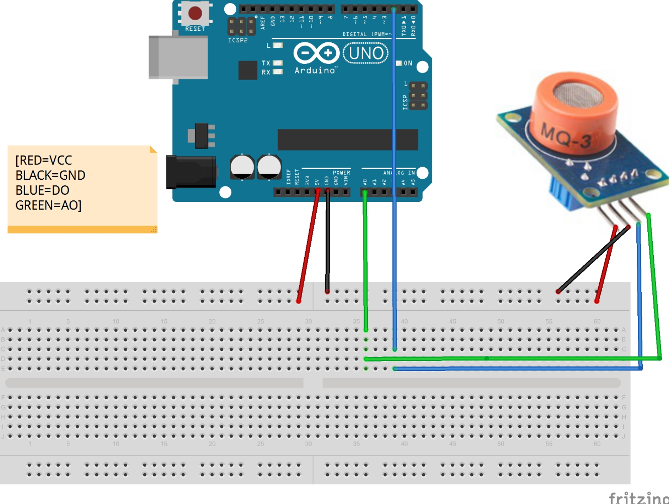
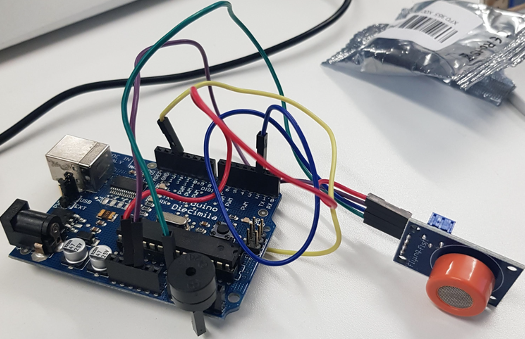
After purchasing the ANGEEK MQ-3 MQ3 alcohol sensor and locating a fritzing schematic for the initial build I was able to build the first model of the breathalyzer.
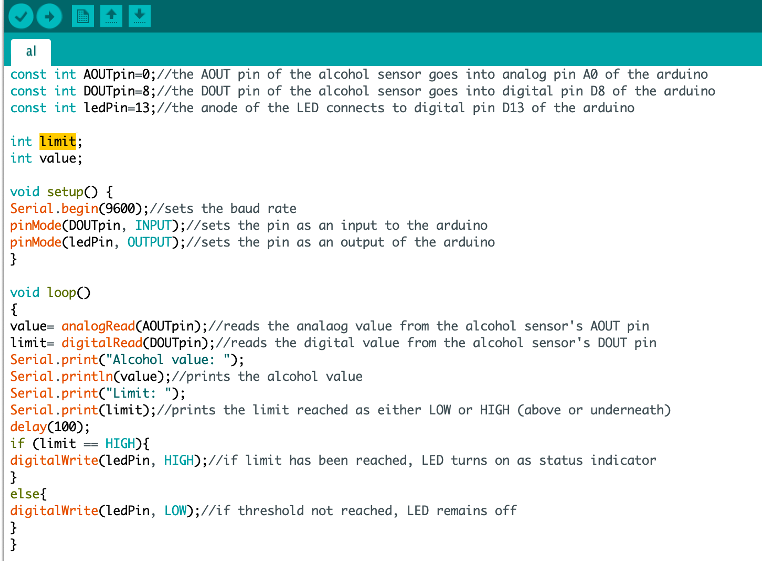
I also located an open source piece of code online for the Arduino software, to measure the amount of alcohol on the breathalyzer, so I was ready to test the basic build of the Arduino.
The initial code we downloaded on to the Arduino, allowed the alcohol to be registered by the sensor, therefore enabling the basic function of the gizmo to take shape.
Reserach and Development
Model 1
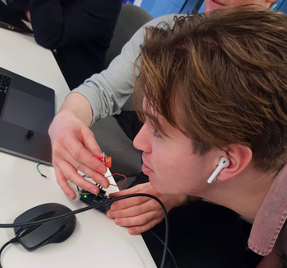
Together with Sam, we used the schematic to connect the wiring together via the Arduino Uno.
The schematic was initially developed on Fritzing (an open-source initiative to develop and experiment with a prototype to building a more permanent circuit).
During the design process, I drew up some rough sketches on the shape and style of the wristband as i wanted to visulise how the breathalizer would function and fit together
These were shown to the group Desinger (Peter) and the head 3D Enviroment Designer (Yuri), who all took the concepts into consideration when designing the final product.
Testing
We decided that it would be suitable to try out the two key parts of the Arduino breathalyser, such as the breathalyser as well as seeing how functional the code is.
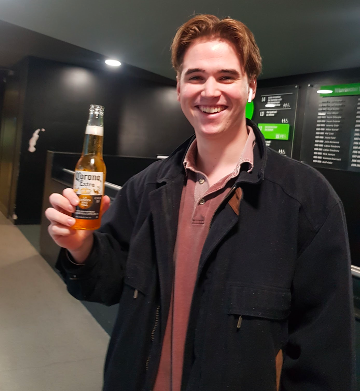
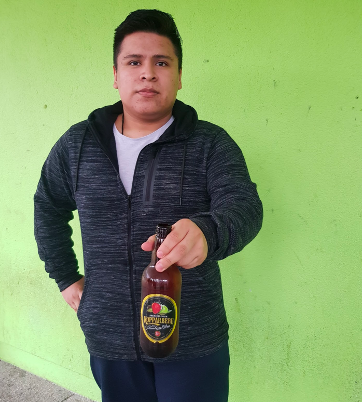
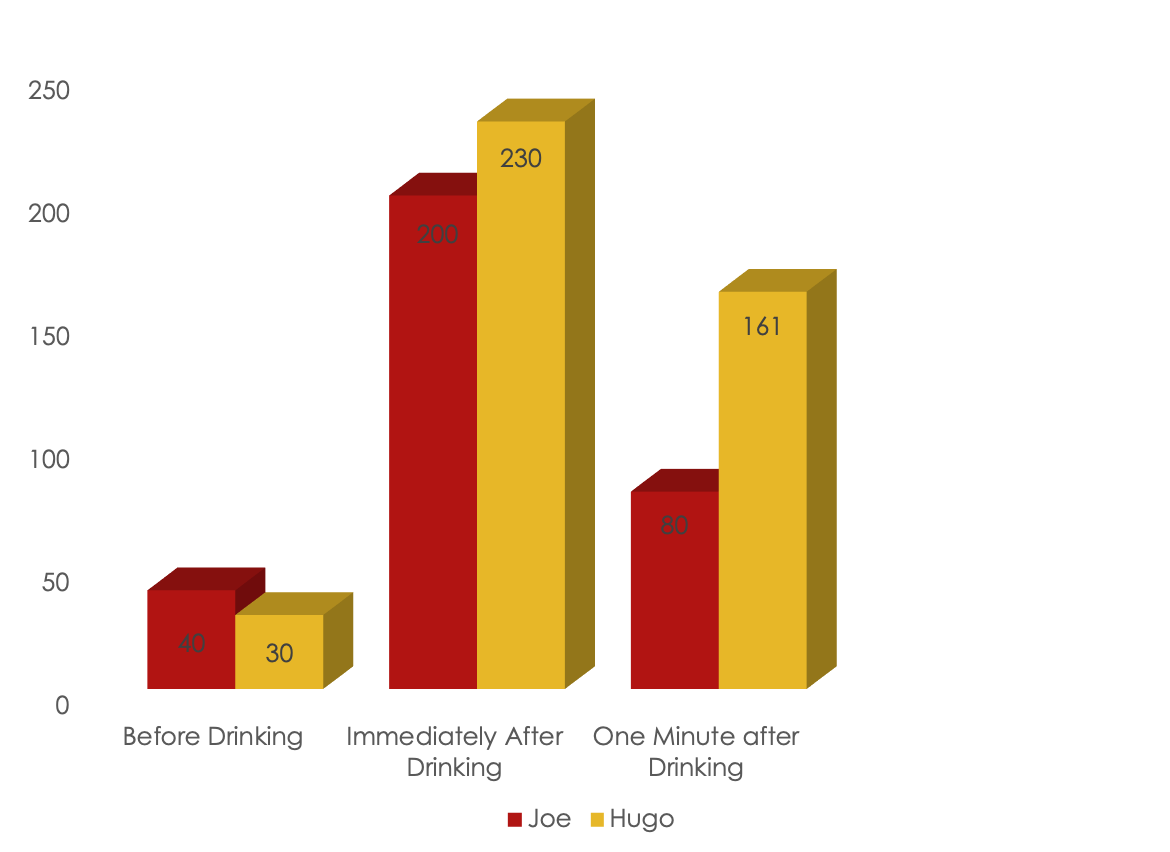
We had two different test subjects, Joe and Hugo
They each had a different type of alcohol to test.
Joe (on the left) chose to have a Corona which contained 4.5% equating to 1.5 units.
Hugo (on the right) decided to have a cider branded Kopparberg which contained 4% equating to 2 units.
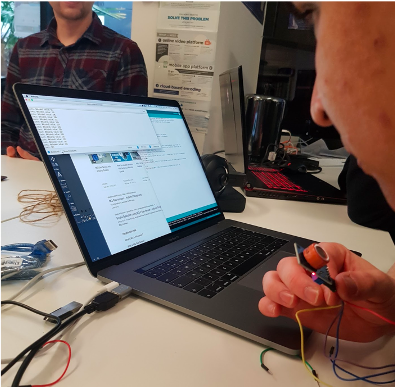
In order to obtain the data that we needed both Joe and Hugo blew into the breathalyser which was connected onto the Arduino, which was plugged into the Mac which was running the Arduino program script.
Data Testing
Results
The data was read out by the Arduino software and was read every microsecond for when the value changed from the alcohol being blown onto the breathalyser.
This proved that the breathaliser could be fully operational using the basic code that was uploaded onto the Arduino software, as well as also showing the varying amount of data.
-
Joe scored a level of 40 , after immediately downing his drink he scored 200, after a minute he then scored 80.
-
Hugo on the other hand scored 30 before drinking then after merely down in his drink he scored 230 and after minute he scored 161.
The results showed that before drinking:
The results show that the breathalyser was incredibly accurate in reading the variety and difference in alcohol volume over a given time, with two different people with separate alcohol levels and types.
Further Development and modifications
The further development and modifications that I did asked to be test were mainly focused on the code and the Arduino, such as using the far smaller Arduino Nano which would be used for the official finished product in the future.
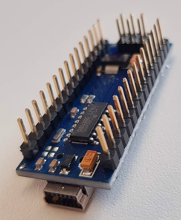
The Arduino nano is a far smaller version of the Arduino Uno, which allows the circuitry to be fitted directly into a wristband design.
Thus furthering the product from a realistic concept into a fully fledged product
During the development of the wristband, Sam and I encountered an issue with the breathalyser as it would keep on going off due to alcohol lingering on the sensor.
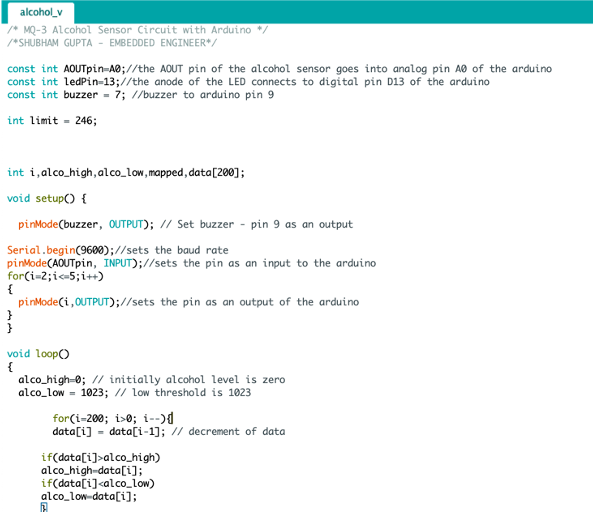
Therefore, Sam and I made major modification where we incorporated a button that would save the numerical alcohol number at any point when pressed, e.g such as the value being 58.
Then once the next value from the breathalyser was +2, the sensor would then be activated, allowing for an increase of alcohol to purely activate the sensor, e.g 60.
ld then be activated, allowing for an increase of alcohol to purely activate the sensor, e.g 60.
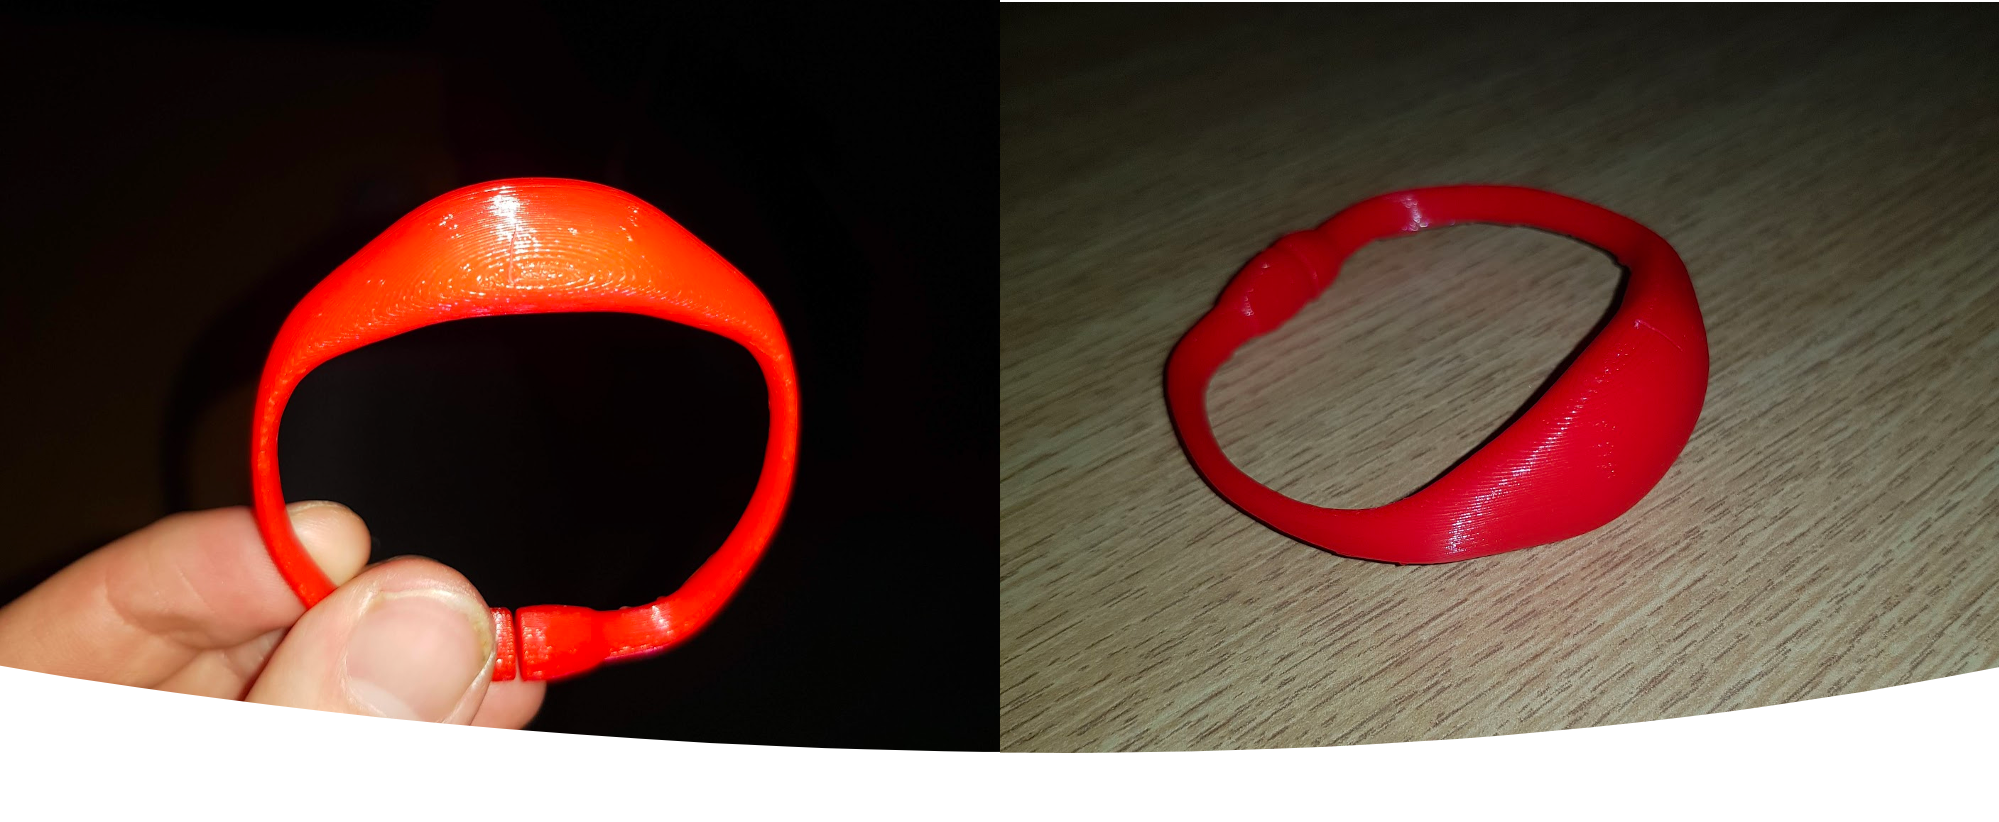
This is the 3d printed version of the wrist abnd design, incorporating Euris design
Final product
This section shows the entire product as a whole, including key parts of the group members contributions to the project

This is Peters branding design for the breathalyser.
He decided to use' Breath Let' as the brand identity
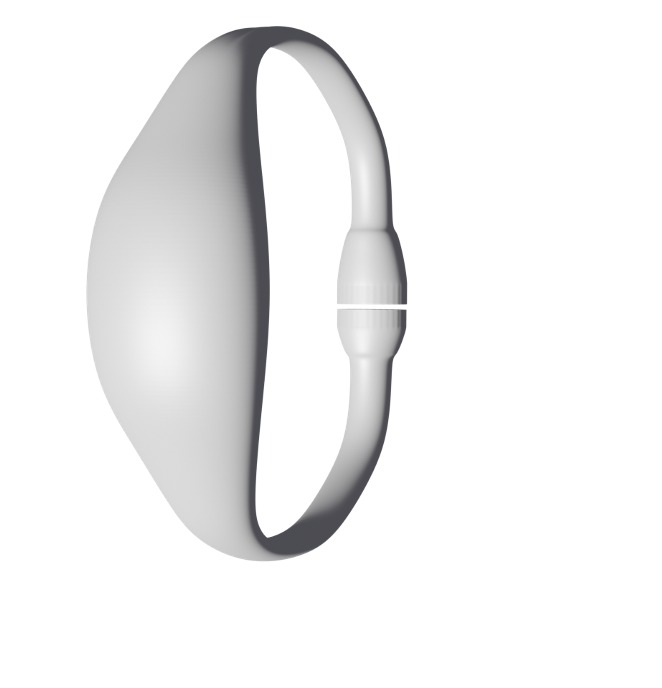
On the right is Yuri's design of the initial frame of the bracelet using blender
This is Yuri's final design of the breathalyser wristband.
It features the dispaly showing the reading of the Alchol % as well as the ANGEEK MQ-3 breathalyser built into it.